Home cultures · Kombucha
Kombucha, one jar at a time.
Sweet tea, a warm corner and a culture that turns it sour. Most of the work is waiting, and most of the skill is noticing. Start with a ratio you can repeat, then change one thing at a time.
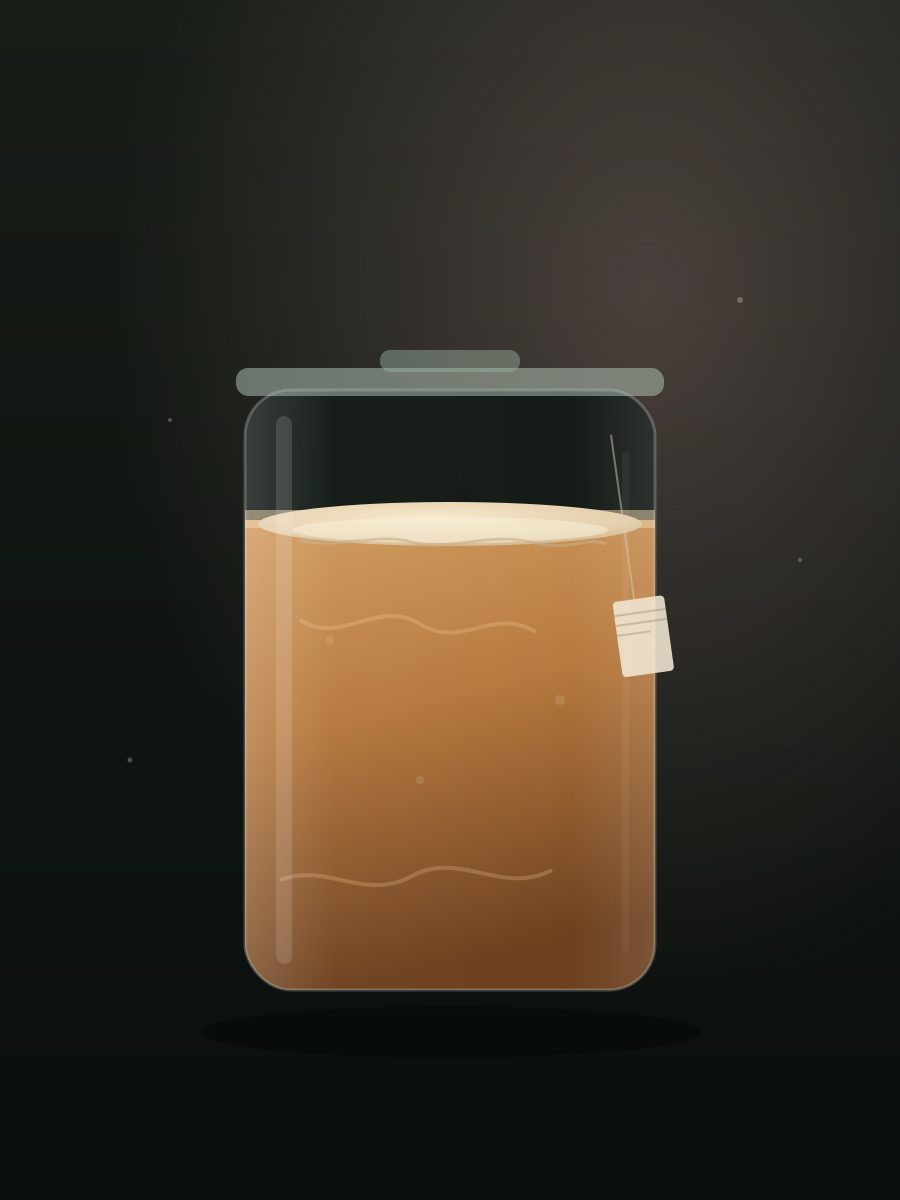
What a SCOBY is, and is not
The rubbery disc on top — the pellicle — is cellulose produced by acetic acid bacteria. It is a visible by-product, not the whole culture. The yeasts and bacteria that actually ferment the tea live throughout the liquid. A thin, uneven or missing pellicle is normal; a new one forms as the brew works.
That is also why you can start a batch from strong finished kombucha rather than a fresh disc. The liquid carries the community.
What you need
- A wide glass jar, clean and dry, holding about twice the volume you plan to brew.
- Loose black or green tea — around 8–10 g per litre, or two to three tea bags.
- Sugar — roughly 60–80 g per litre. It feeds the culture; it is not there to make the drink sweet.
- Starter liquid — about 100–200 ml of finished, unpasteurised kombucha per litre.
- A breathable cover and a band, a warm spot out of direct sun, and a notebook.
A starting ratio
| For 1 litre | Starting point | Why |
|---|---|---|
| Water | 1 litre, boiled then cooled | Boiling dissolves the sugar and drives off some chlorine. |
| Tea | 8–10 g, steeped 5–10 minutes | Tea supplies nitrogen and flavour compounds. Longer steeping can taste harsh. |
| Sugar | 60–80 g | Food for the culture. Most is consumed during the ferment. |
| Starter liquid | 100–200 ml | Carries the culture and lowers the starting pH. |
| Temperature | Roughly 20–27 °C | Cool slows it; hot can harm the culture. |
Cool the sweet tea to room temperature before adding the starter. Pouring hot tea over a culture is the most common way to kill a batch.
First ferment
- Dissolve the sugar in hot water, steep the tea, then strain and cool.
- Add the starter liquid and the sweet tea to the jar. Leave headspace.
- Cover with a clean cloth or coffee filter and secure it. Fruit flies are the real enemy.
- Leave it undisturbed in a warm, dark spot. Taste from day five with a clean spoon.
Seven to fourteen days is a normal range. Warmer kitchens finish sooner. A batch is ready when it tastes pleasantly sour and no longer sweet — but taste is a rough guide, and a pH meter is better. Many home brewers aim for roughly pH 3.0–3.5 at bottling; below 4.5 is the usual safety threshold cited for fermented foods. Record what you measured so the next batch is comparable.
Bottling and the second ferment
Bottle the finished brew in strong, pressure-rated bottles, leaving a couple of centimetres of headspace. Reserve some liquid for the next batch before you bottle. For carbonation, seal the bottles at room temperature for one to three days, then chill them. Open one bottle over the sink the first time — pressure builds faster in warm weather.
If you bottle while the brew is still sweet, you cannot predict the pressure. Taste and measure before sealing.
Reading the jar
| What you see | What it usually means |
|---|---|
| Thin, pale, uneven pellicle | Normal. It thickens over successive batches. |
| A new pellicle forming at an angle | Normal. It follows the liquid surface. |
| Stringy brown strands | Usually yeast. Harmless, though some brewers strain them out. |
| Dry, fuzzy patches on the surface | Mould. Discard the batch and the pellicle, then clean the jar thoroughly. |
| Very sharp vinegar with no sweetness | Over-fermented. Still usable as starter liquid; too strong to drink as-is. |
Next steps
Once the rhythm is familiar, the interesting variables are temperature, tea strength, starter proportion and how long you let the second ferment run. Change one at a time. The sourdough guide applies the same discipline to a jar of flour, and our research approach explains how we keep observations separate from wishes.